Alright, folks, let's get our hands dirty and build a bookshelf! I'm talking a sturdy, beautiful, and personalized masterpiece that'll hold your precious books (and maybe some knick-knacks too). No need to break the bank or hire a carpenter â€" we're doing this DIY style. Buckle up, because we're about to embark on a woodworking adventure!
Let's Get Started: The Planning Phase
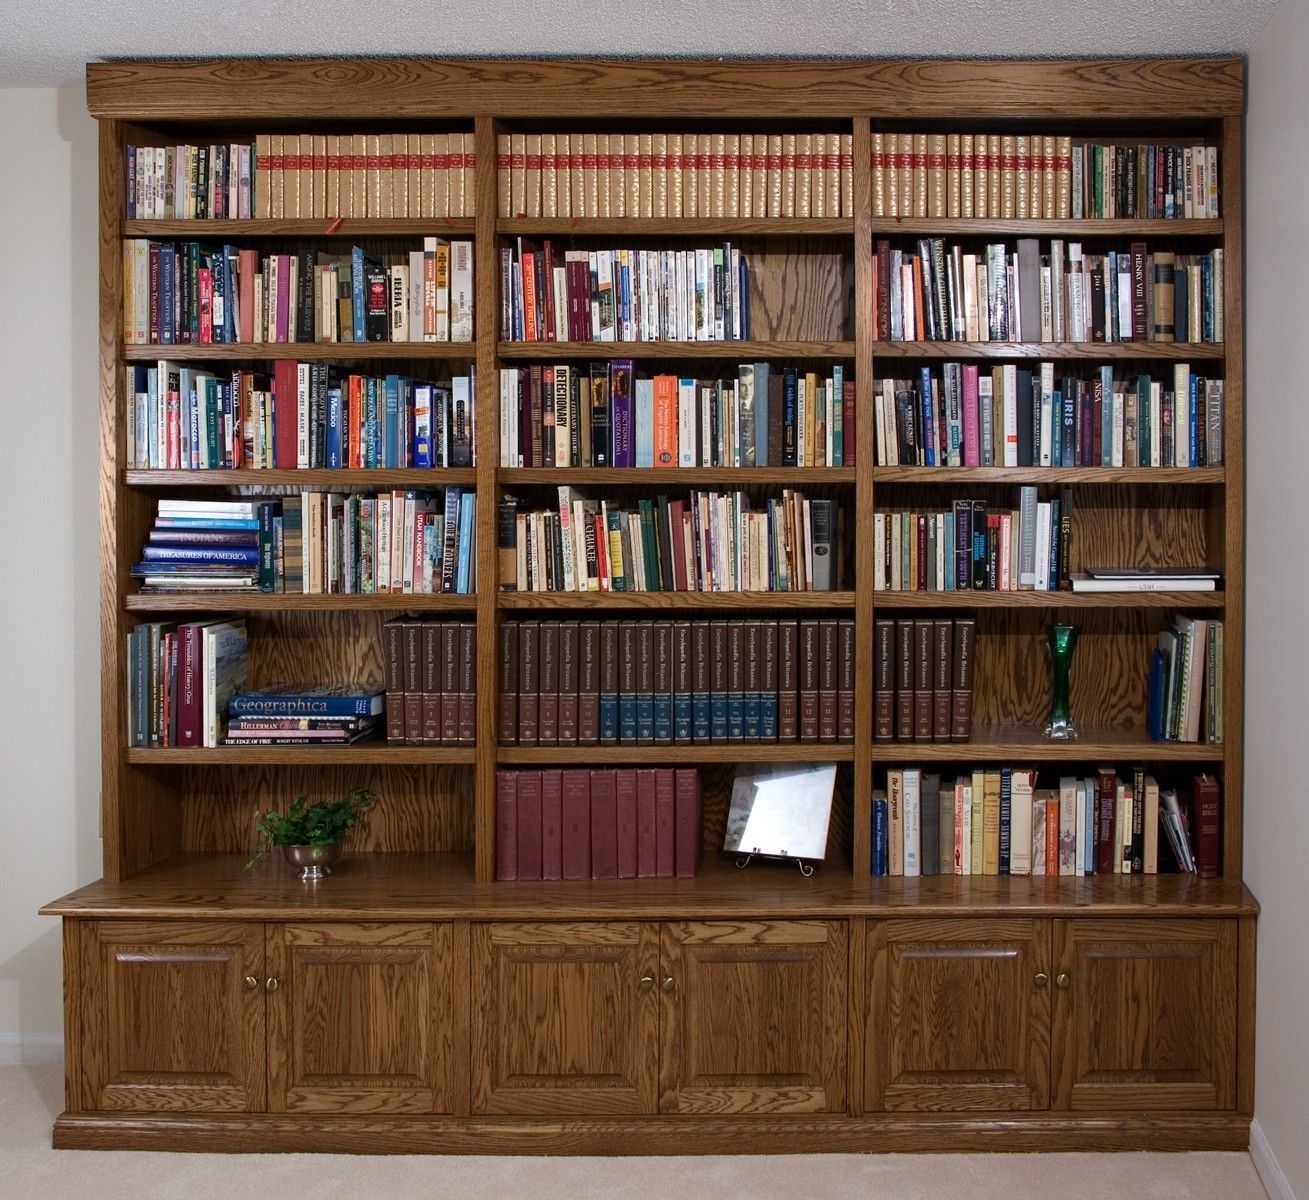
First things first, we need a plan. What kind of bookshelf are we dreaming of? Are we going for a sleek modern design, a rustic farmhouse vibe, or something in between? Think about the space you have available and the style that fits your home office or library.
Materials We'll Need:
Wood: Choose your wood wisely! Pine is a classic choice â€" affordable and easy to work with. Want something more durable? Go with oak, maple, or walnut. And for that rustic charm, try reclaimed wood! You'll need planks for the shelves, vertical supports (we'll call them "uprights"), and a bottom base.
Wood glue: This will be your best friend for creating strong, long-lasting joints.
Wood screws: Make sure they're long enough to securely fasten the shelves and uprights together.
Finishing supplies: Sandpaper to smooth out the surfaces, wood stain or paint to give your bookshelf some personality, and a sealant to protect it from scratches and spills.
Optional extras: Brackets for additional support, decorative trim, or even some hardware like hinges if you want to make a door for your bookshelf.
Tools We'll Need:
Saw: A circular saw or a jigsaw will make cutting the wood a breeze. A miter saw is great for precise cuts, especially for the bottom base.
Drill: Essential for creating pilot holes before you start screwing things together. A drill driver makes the process much faster and easier.
Screwdriver: You might need a screwdriver if your drill doesn't have a bit for your wood screws.
Level: This will ensure your shelves are nice and straight, no wonky book stacks here!
Tape measure: For accurate measurements â€" remember, even a small error can make a big difference in the final product.
Clamps: These will help you keep the pieces in place while you glue and screw them together.
Building the Bookshelf: A Step-by-Step Guide
Okay, let's dive in! This is where the fun begins.
1. Cutting the Wood: Let's start with the shelves. Measure the width of the space where your bookshelf will go and decide how many shelves you want. Cut your wood planks to those dimensions. For the uprights, measure the height of your bookshelf and the depth of your shelves, and cut them to those dimensions. Finally, cut the pieces for your bottom base to match the width of your shelf.
2. Assembling the Frame: Now it's time to create the basic structure. Start by attaching the uprights to the bottom base. You can use wood glue and screws to secure them firmly. Then, use your level to ensure the uprights are perfectly straight before you start adding the shelves.
3. Attaching the Shelves: Let's add those shelves. First, attach the first shelf to the uprights, making sure it's level. Then, attach the remaining shelves, leaving enough space between each one to comfortably fit your books. Be sure to use wood glue and screws to create sturdy joints.
4. Sanding and Finishing: Once the bookshelf is assembled, it's time for some sanding. This will smooth out any rough edges and give your bookshelf a polished look. Then, you can choose to stain or paint your bookshelf, depending on the style you're going for. Remember to apply a sealant after staining or painting to protect the wood from scratches and spills.
5. Adding Optional Extras: Feeling creative? This is where you can get fancy! You can add brackets for extra support, decorative trim to accentuate the edges, or even create a door with hinges to hide away some of your favorite treasures.
Tips for Success:
Measure twice, cut once: We all know the saying! Accuracy is key in woodworking. Double-check your measurements before you start cutting.
Use pilot holes: Drilling pilot holes before screwing helps prevent the wood from splitting.
Don't skimp on glue: Wood glue is your friend! Use a generous amount to ensure a strong and lasting bond.
Take your time: There's no rush. Building a bookshelf is a process, so enjoy it and don't get discouraged if you make a mistake. We all do!
Clean up as you go: Keep your workspace tidy, making it easier to move around and avoid losing pieces.
Congratulations! You've Built a Bookshelf!
Now you have a beautiful, handmade bookshelf that's perfect for your home office or library. Fill it with your favorite books and enjoy the sense of accomplishment â€" you did it! Remember, the real joy is in the journey. So, don't be afraid to get creative, experiment, and let your personality shine through in your design.
Beyond the Basics: Personalizing Your Bookshelf
Want to take your bookshelf from ordinary to extraordinary? Here are a few fun ideas:
Reclaimed wood: Add a touch of rustic charm with reclaimed wood. Think old barn wood, salvaged pallet wood, or even reclaimed wood from antique furniture. It adds a unique and eco-friendly touch.
Unique shelf design: Break the mold! Try curved shelves, angled shelves, or even staggered shelves to create a visually interesting design. Let your creativity flow.
Hidden compartments: Create secret spaces for storing valuables or special treasures. You can use a sliding panel, a lift-up lid, or even a secret compartment in the back of the bookshelf.
Lighting: Highlight your book collection with built-in LED lights. This creates a warm and inviting ambiance and adds a touch of sophistication.
Finishing touches: Don't forget about the finishing touches! Add hardware like handles, knobs, or even a small latch. You can also personalize it further by adding wallpaper, fabric, or even decorative paint techniques.
Building a bookshelf is a rewarding experience. It allows you to create something beautiful and functional with your own hands. Enjoy the process and the satisfaction of creating something unique for your home!
0 comments:
Post a Comment
Note: only a member of this blog may post a comment.