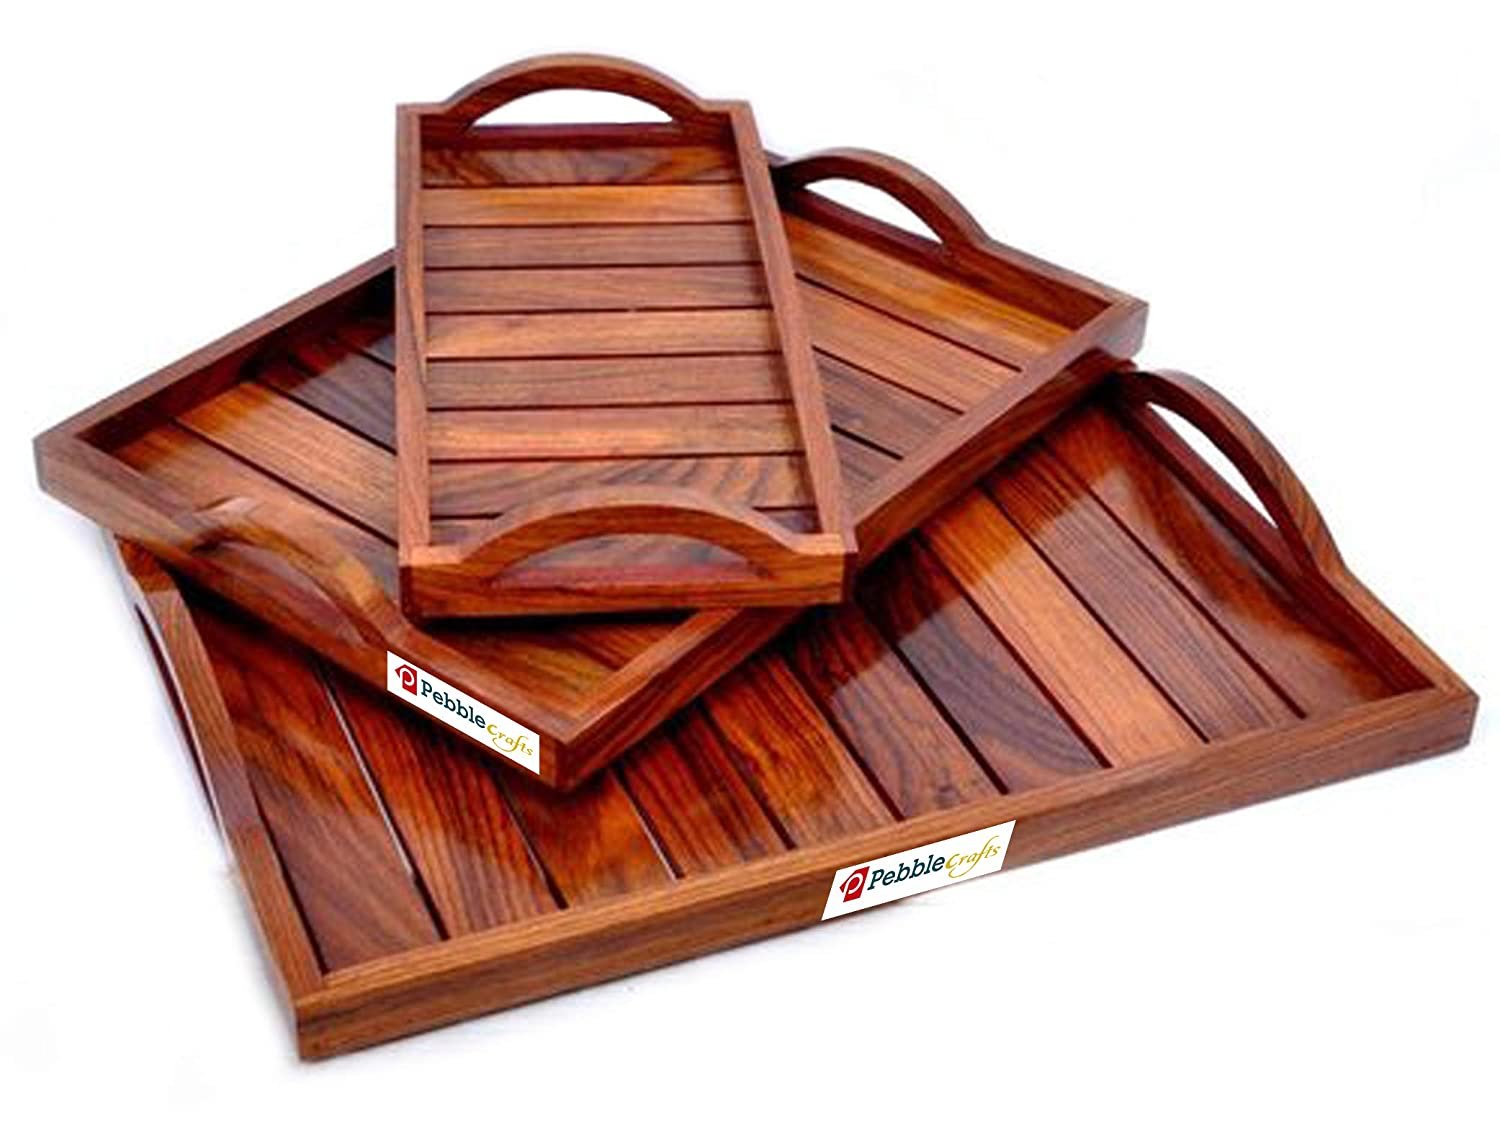
Crafting a Personalized Wooden Serving Tray: A Detailed Guide
A wooden serving tray is more than just a functional kitchen utensil; it is an elegant statement piece, a unique gift, and a canvas for personalization. With a little time and effort, you can create a stunning, customized serving tray that will be treasured for years to come. This comprehensive guide will walk you through every step of the process, from choosing the right wood to adding your personal touch.
Materials and Tools
Before embarking on your crafting journey, ensure you have all the necessary materials and tools:
Wood Selection
The wood you choose will significantly impact the final appearance and durability of your serving tray. Consider these options:
- Maple: Known for its beautiful grain and durability, maple is an excellent choice for serving trays.
- Cherry: This wood boasts a warm, reddish hue and a fine grain, making it aesthetically pleasing.
- Walnut: Rich brown with dark streaks, walnut offers a luxurious feel and excellent durability.
- Oak: Sturdy and with a distinctive grain pattern, oak is a classic choice for serving trays.
- Pine: A softwood that is lightweight and affordable, pine is suitable for beginner projects.
When choosing wood, consider the project's size, desired aesthetic, and budget.
Tools
- Table Saw: For cutting the wood to size and creating precise edges.
- Miter Saw: For cutting accurate angles for the tray's edges.
- Sandpaper: Various grits for smoothing the wood and removing imperfections.
- Wood Glue: For securely joining the tray's pieces.
- Clamps: To hold the wood pieces together while the glue dries.
- Wood Stain: To add color and enhance the wood's natural beauty.
- Polyurethane Finish: For protecting the wood and providing a smooth, water-resistant surface.
- Paintbrushes: For applying stain and finish.
- Measuring Tape: For accurate measurements.
- Pencil: For marking the wood.
- Safety Glasses and Dust Mask: For protecting your eyes and lungs from wood dust.
Construction Process
Follow these steps to build your wooden serving tray:
Cutting the Wood
1. Determine the desired dimensions of your tray. For a standard serving tray, a length of 12-16 inches and a width of 8-12 inches are common.
2. Using a table saw or miter saw, cut the wood to the desired size for the tray's base.
3. If desired, cut the wood for the sides of the tray. You can create a simple design with two sides or opt for a more intricate design with multiple sides.
Assembling the Tray
1. Apply wood glue to the edges of the sides, ensuring a generous amount of glue is applied.
2. Carefully attach the sides to the base, ensuring the corners are aligned and the pieces are firmly connected.
3. Clamp the sides and base together and allow the glue to dry completely, following the manufacturer's instructions.
Sanding and Finishing
1. Once the glue has dried, sand the entire tray with sandpaper, starting with a coarse grit and gradually moving to finer grits.
2. Sand with the grain of the wood to avoid scratches and create a smooth surface.
3. Wipe away any dust with a tack cloth.
4. Apply the desired wood stain, following the manufacturer's instructions. Allow the stain to dry thoroughly.
5. Apply a polyurethane finish, ensuring an even coat. Allow the finish to dry completely before handling the tray.
Personalization Options
The beauty of crafting a wooden serving tray lies in the endless personalization options available. Enhance your tray's uniqueness and make it truly special with these ideas:
Engraving
Add a touch of elegance and permanence by engraving a personal message, initials, or a design onto the tray. You can utilize a handheld engraving tool or seek professional engraving services for more intricate designs.
Painting and Decoupage
Add a pop of color and vibrancy with painting or decoupage. Select your favorite colors and paint patterns, or use decorative paper for a unique touch.
Inlays and Intarsia
Create intricate designs and patterns by using different colored wood pieces. Inlays involve inserting small pieces of contrasting wood into the tray's surface, while intarsia uses different colored wood pieces to create a mosaic-like design.
Decorative Handles
Replace the standard handles with unique options, such as leather straps, metal handles, or rope handles, to match the tray's style and your personality.
Tips for Success
Here are some tips for crafting a flawless wooden serving tray:
- Measure Twice, Cut Once: Accurately measure the wood before cutting to avoid mistakes.
- Use Quality Materials: Invest in high-quality wood and finishing products to ensure a durable and beautiful tray.
- Be Patient: Take your time with each step, allowing the glue to dry completely and the finish to cure properly.
- Practice Safe Woodworking: Wear safety glasses and a dust mask to protect yourself from wood dust and debris.
- Experiment: Don't be afraid to try new techniques and personalization options to create a truly unique serving tray.
Crafting a wooden serving tray is a rewarding experience that allows you to express your creativity and create a lasting heirloom. With careful planning, attention to detail, and a touch of personalization, you can create a stunning and functional centerpiece that will be treasured for years to come.