Building Your Dream Grill Gazebo: A Step-by-Step DIY Guide
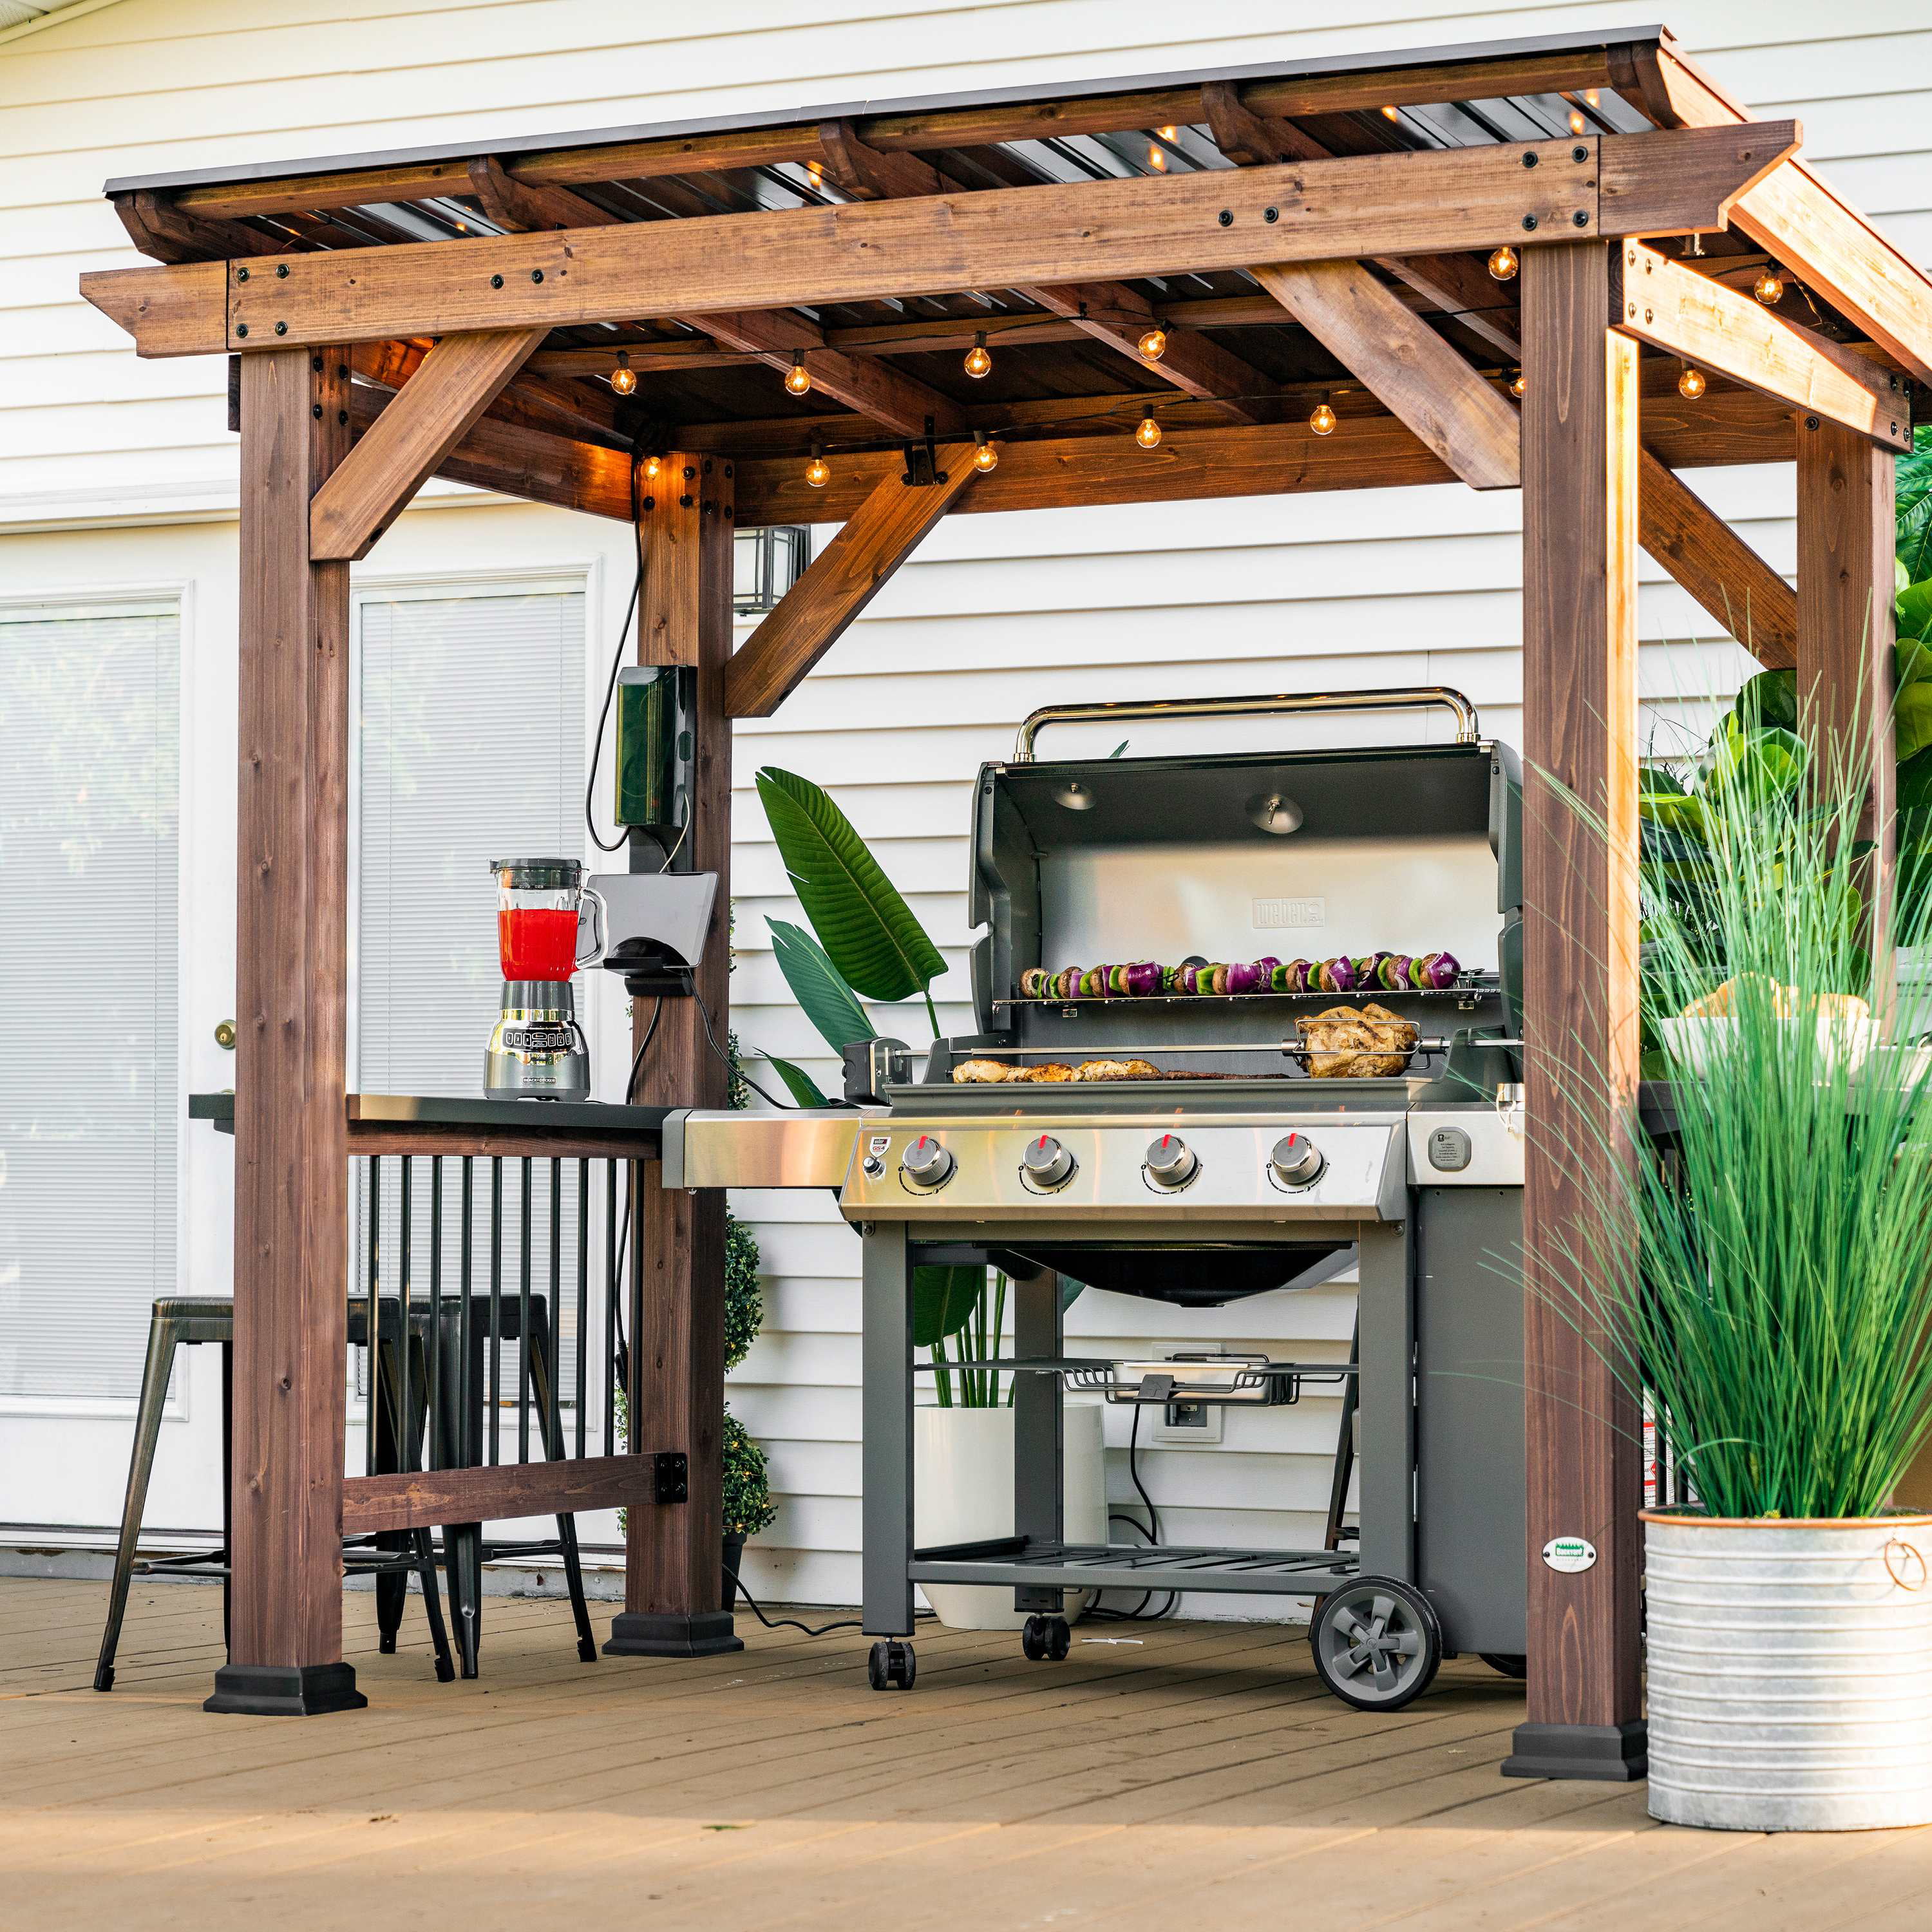
Imagine this: a warm summer evening, the scent of grilling delights fills the air, and you're comfortably nestled under a sturdy gazebo, enjoying the company of friends and family. Sounds idyllic, right? Well, you can create this haven in your backyard with a DIY grill gazebo project. This guide will walk you through each step, ensuring your grilling adventures are always sheltered and stylish.
Planning Your Grill Gazebo
Before you start swinging a hammer, take some time to plan. This will save you headaches and ensure your gazebo fits your needs and space perfectly.
Determine Your Gazebo Size and Shape
Consider the size of your grill and how much space you need to move around comfortably. A square or rectangular gazebo is often the most practical, but a circular or octagonal design can add a touch of whimsy. Measure the area where you want to place the gazebo and choose a size that allows ample room without feeling cramped.
Choose Your Gazebo Material
Gazebo frames are typically made from metal, wood, or a combination of both. Metal offers durability and low maintenance, while wood provides a more rustic aesthetic. Consider your budget, desired look, and the climate in your area when making your selection.
Consider Roofing Options
A sturdy roof is essential for protection from sun and rain. Common roofing materials include canvas, metal, or polycarbonate panels. Think about the level of shade you want, the amount of sunlight you want to let in, and your desired level of weatherproofing.
Plan Your Grill Placement
Make sure your grill fits comfortably within the gazebo, allowing ample space for ventilation and easy access. Think about the direction of prevailing winds to avoid smoke blowing into your seating area.
Gathering Your Materials and Tools
Once you've finalized your design, it's time to gather the necessary materials and tools. This list provides a good starting point, but adjust it based on your specific design and chosen materials.
Materials:
- Gazebo frame components (posts, beams, rafters, etc.)
- Roofing material (canvas, metal, polycarbonate panels, etc.)
- Fasteners (screws, nails, bolts, etc.)
- Foundation materials (concrete piers, wood posts, etc.)
- Optional: Side panels, curtains, lighting fixtures
Tools:
- Measuring tape
- Level
- Saw (circular saw, chop saw, hand saw)
- Drill
- Screwdriver
- Hammer
- Wrench set
- Safety glasses
- Work gloves
Step-by-Step Construction
With your materials and tools ready, you can begin the construction process. Follow these steps carefully, ensuring safety and accuracy throughout.
Step 1: Prepare the Foundation
A solid foundation is crucial for a sturdy gazebo. Choose a suitable method for your chosen materials: concrete piers, wooden posts sunk into the ground, or a pre-existing patio or deck. Level the foundation carefully, ensuring it's strong enough to support the gazebo's weight. You can use a level to check the foundation's evenness.
Step 2: Assemble the Gazebo Frame
Start by assembling the gazebo's main frame, following the manufacturer's instructions or your own design. Ensure the posts are securely fastened to the foundation using bolts, screws, or concrete anchors. Use a level to ensure the frame is plumb and square. Once the main frame is assembled, attach the rafters and roof supports.
Step 3: Attach the Roofing Material
The roofing material you choose will determine how you attach it. Canvas roofs typically require a frame and tensioning system, while metal roofs can be screwed directly to the rafters. Polycarbonate panels may require special clips or brackets. Always follow the manufacturer's instructions for your specific material.
Step 4: Install Optional Features
This is where you can add your personal touch. Consider adding side panels for wind protection, curtains for privacy, or lighting fixtures for ambiance. Be sure to follow the manufacturer's instructions for installation.
Finishing Touches and Maintenance
Once your gazebo is built, you can personalize it further. Paint or stain the wood frame, add decorative trim, or install a fan for added comfort. Regular maintenance is essential to keep your gazebo looking its best and functioning properly.
Maintenance Tips:
- Clean the roof regularly to remove debris.
- Inspect the frame for loose screws, rust, or damage.
- Treat wooden frames with stain or sealant annually.
- Replace any damaged components promptly.
With a little planning, effort, and these detailed instructions, you'll soon be enjoying the fruits of your laborâ€"a cozy and stylish grill gazebo that's perfect for outdoor entertaining and delicious grilling sessions.
0 comments:
Post a Comment
Note: only a member of this blog may post a comment.