Okay, so you’re thinking about building a side table. Maybe you’re tired of that rickety old thing that’s been wobbling for years, or maybe you just want a piece of furniture that’s uniquely yours. Whatever the reason, building a side table is a great project for a weekend. It’s not too difficult, and the results are incredibly rewarding!
First things first, let’s talk about the design. I’m a sucker for simple, clean lines, so I'm going to focus on a classic, rectangular table. But hey, you do you! Feel free to get creative â€" add some curves, maybe even incorporate a shelf.
Materials You'll Need:
Lumber: You'll need about 10-12 board feet of hardwood. I love the look of walnut, but cherry, maple, or oak would work great too. If you’re feeling adventurous, you could even use reclaimed wood for that rustic vibe.
Wood Glue: A good wood glue is essential for strong joints.
Wood Screws: Get a variety of sizes, and make sure they’re long enough to go through the wood and into the legs.
Wood Finish: This could be anything from a simple oil finish to a more elaborate stain and varnish. Pick something that complements the wood you’ve chosen.
Sandpaper: You’ll need a variety of grits, from coarse to fine, for sanding the wood smooth.
Measuring Tape & Pencil: For those all-important dimensions.
Clamps: To hold the wood in place while the glue dries.
Safety Glasses: Always protect your eyes, especially when cutting wood.
The Steps:
1. Get Ready: Clear your workspace, put on your safety glasses, and let’s get started! The first step is to cut the lumber to size. If you’re working with rough-cut lumber, you’ll want to plane it to the desired thickness. I usually aim for a table top that’s about 1 inch thick and legs that are 1.5 inches thick. Measure twice, cut once!
2. Building the Tabletop: For my design, I’m going to use a simple “butt joint†for the tabletop. This means that the boards will be joined end to end, with the edges flush. Apply wood glue to the ends of the boards, then clamp them together tightly until the glue dries. Once the glue is dry, sand the tabletop smooth.
3. Attaching the Legs: Now comes the fun part â€" adding the legs! For a classic look, I’m going to use a simple “mortise and tenon†joint. This involves cutting a hole (the mortise) in the tabletop and a corresponding projection (the tenon) on the legs. There are lots of videos online that show how to do this, but don’t worry if it seems daunting. A simpler method is to simply attach the legs to the underside of the tabletop with screws.
4. Finishing Touches: Once the legs are attached, it’s time for sanding. Start with a coarse grit sandpaper, then work your way down to a finer grit for a smooth finish. Once you’re happy with the sanding, it’s time to apply your wood finish. Follow the manufacturer's instructions for the best results.
5. Enjoy Your Creation: Finally, step back and admire your handiwork! This table is going to be a real conversation starter, and you'll have the satisfaction of knowing you built it yourself.
Adding a Touch of Personality:
This is where you really get to let your personality shine! Here are a few ideas to add some flair:
Inlay: You could incorporate a decorative piece of wood, like a contrasting species of wood or even a piece of metal, into the tabletop.
Carving: If you're feeling adventurous, you could carve a design into the tabletop or the legs.
Distressing: For a rustic look, you can distress the wood by sanding it unevenly or using a wire brush.
Adding a Shelf: A simple shelf underneath the tabletop can provide extra storage space.
Tips and Tricks:
Don’t be afraid to ask for help: Building a side table is a great opportunity to learn some new woodworking skills. Don’t be afraid to ask for help from a friend or family member who’s more experienced.
Plan your project: Take some time to plan out your project before you start. Measure everything twice, cut once.
Use quality tools: A good set of tools will make the job easier and will give you better results.
Take your time: Woodworking takes time and patience. Don’t rush the process. Enjoy the journey!
Beyond the Basic Side Table:
Once you’ve mastered the basics, you can start experimenting with more complex designs. Here are a few ideas:
Coffee Table: A coffee table is a bit larger than a side table, but the construction is similar.
End Table: An end table is a smaller version of a side table, perfect for snuggling up on the couch.
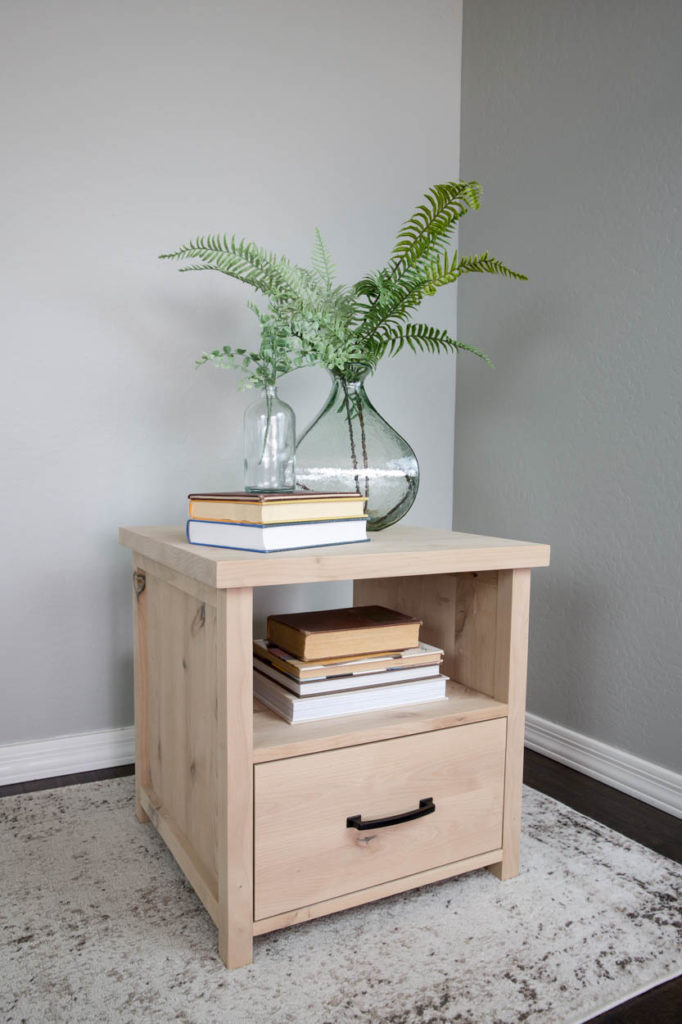
Nightstand: A nightstand is a perfect place to keep a book, your phone, and a glass of water within reach.
Building your own side table is a great way to add a personal touch to your home and learn a new skill. Plus, it’s a fun and rewarding project that you can enjoy for years to come. So go for it! Get your hands dirty and create something beautiful. You'll be amazed at what you can accomplish.
0 comments:
Post a Comment
Note: only a member of this blog may post a comment.